In this article, I will cover the PID block in RSlogix 500 with an example of process control.
This is an output instruction that controls physical properties such as temperature, pressure, liquid level, or flow rate using process loops.
PID closed-loop control holds a process variable at the desired set point.
The PID equation controls the process by sending an output signal to the control valve. The greater the error between the setpoint and process variable input, the greater the output signal, and vice versa.
The PID algorithm is used to control an analog process having a single control point and a single feedback signal. The PID algorithm controls the output to the control point so that a setpoint is achieved. The setpoint may be entered as a static variable or as a dynamic variable that is calculated from a mathematical operation.
PID Controllers are generally available in two types. One is a Single-stand-alone microcontroller-based hardware controller unit. The second one is as a software block in PLC or DCS programming.
To understand the PID block (software) in RSlogix software follows the below steps.
Step 1:
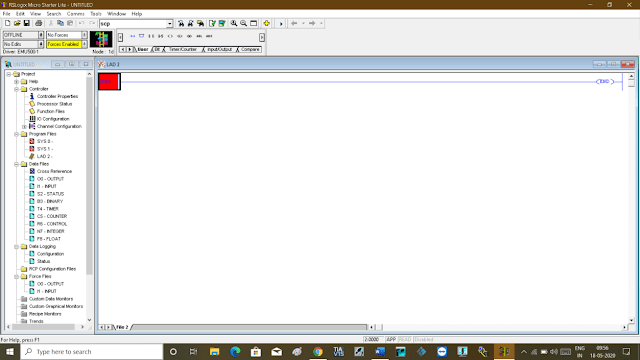
Open RSlogix 500. Create a new project and open programming environment.
Download RsLogix 500 if you don’t have it.
Step 2:
Let’s consider the process where I have to control the flow of fluid.
For that, I have a flow transmitter that provides me the present flow rate (feedback), a controller (PID block) which compares with the setpoint and present flow rate, then PID controls the manipulated variable (control valve) to maintain the required flow rate as per setpoint.
Step 3:
To do that, I need two Scale with Parameter (SCP) instructions. One SCP instruction will convert the value of the flow transmitter (4-20 mA) to raw value and another SCP instruction will convert a raw value to 4-20 mA (control valve).
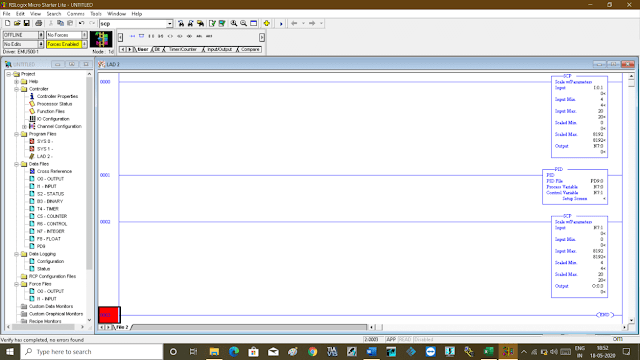
Following is the program, in the first rung I have used SCP instruction which has input coming from the flow transmitter (I0:1).
Input minimum and maximum are 4mA and 20mA respectively. I have scaled it for raw value from 0 to 8192 counts as I have considered a resolution of 12 bit for my analog input card.
The output of the scaled input will store to a memory location (N7:0).
In the second rung, the PID block is used where I have a process variable (flow rate). I have given the address of input which I have scaled and a control variable address (N7:1) which represents the control valve memory address.
In the third rung, I have scaled the raw value to 4 to 20 mA signal to operate the valve.
For example, I have the following condition
SP (setpoint) : 12 m3/hr
PV (Input coming from the transmitter – flow rate): 12 m3/hr
MV (Control valve output) : 50 %
If I changed the setpoint or process variable value change from 12m3/hr to 11 m3/hr, then the controller compares it with a setpoint and produces an error. The PID changes the manipulated variable based on the error, then fed to the control valve to open/close the valve until the process reaches its flowrate as per the required setpoint.
Step 4:
To set all the value, Double click “setup screen” on the PID block. The following window will pop-up as shown in below.
You can set all the required values from this window. You can tune the controller.
As RSlogix won’t allow running a PID block with an emulator, I can not show you by running the logic. But, this is the best way to understand how logic works.
Step 5:
When you add PID block to the rung and compile it. You receive an error. To solve this, we have to define a PID block.
To do that, on the left side right click on “data file” and click on “new”.
Step 6:
The following window will pop-up.
In the “type” section, select PID and define the name. Click “ok” and you are done with PID block data type.
END


Comments
Post a Comment